Discount DALL-E
exploring text to image methods
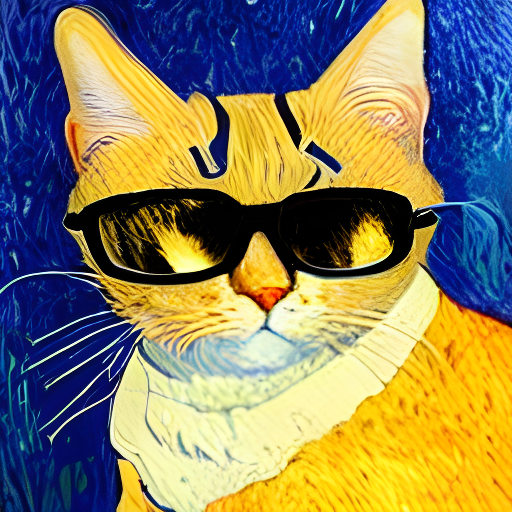
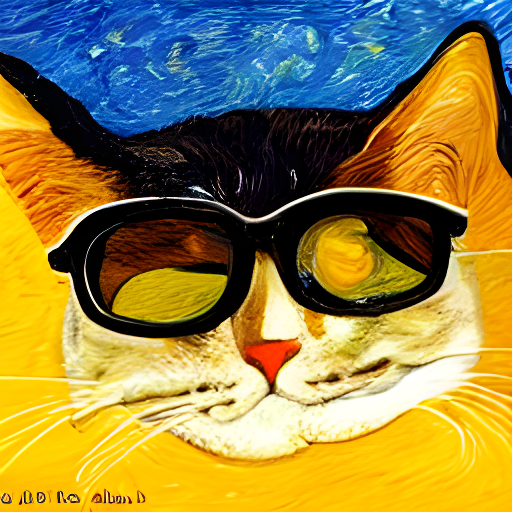
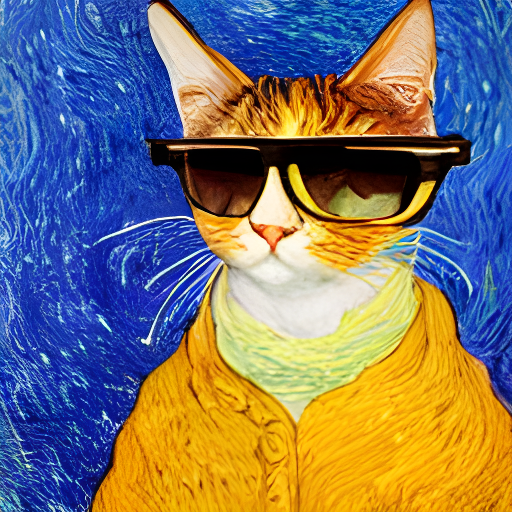
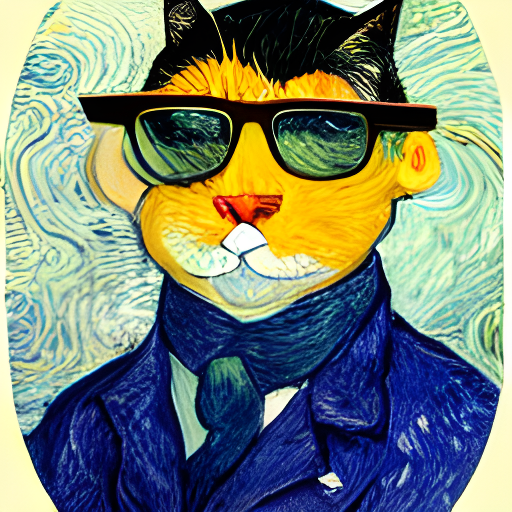
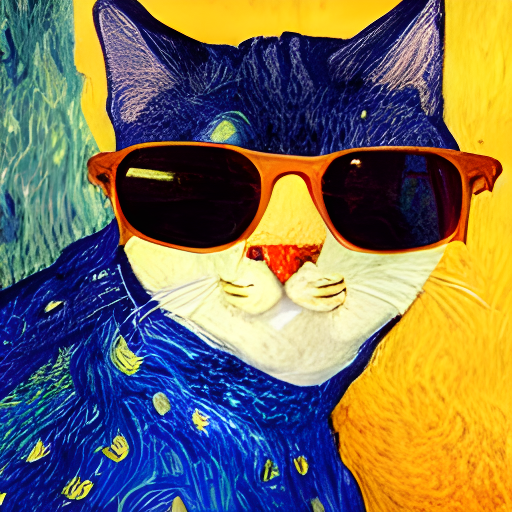
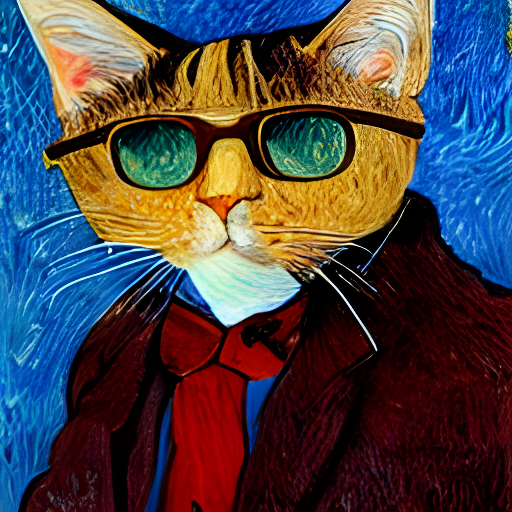
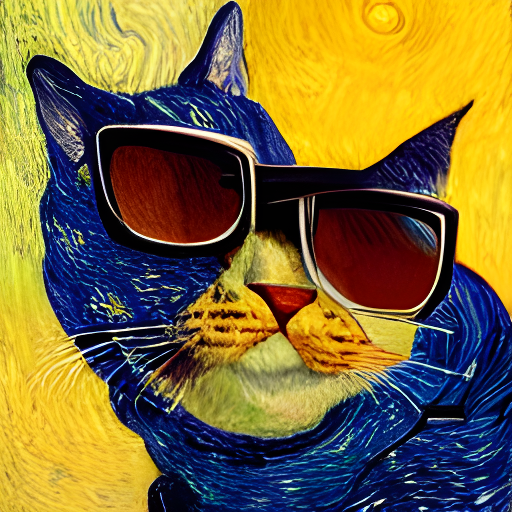
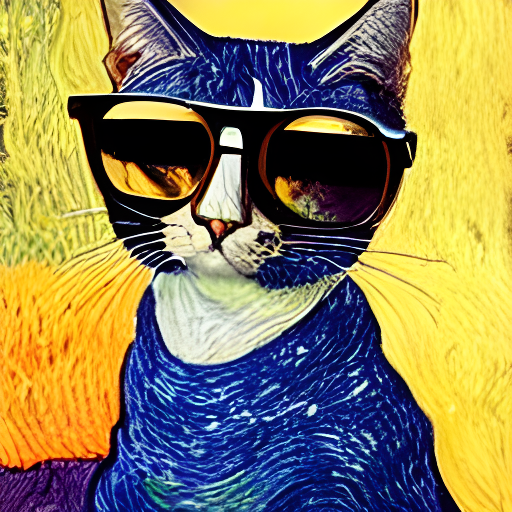
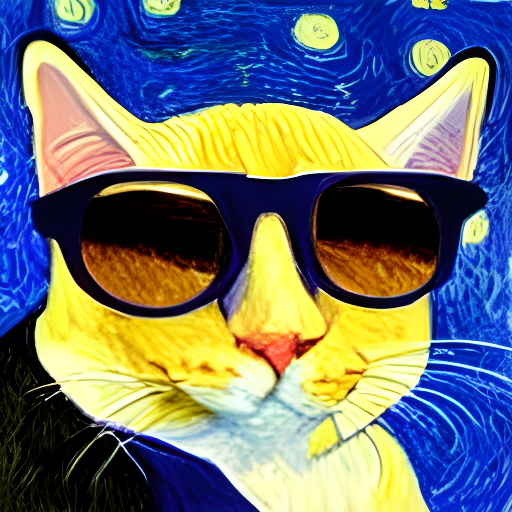
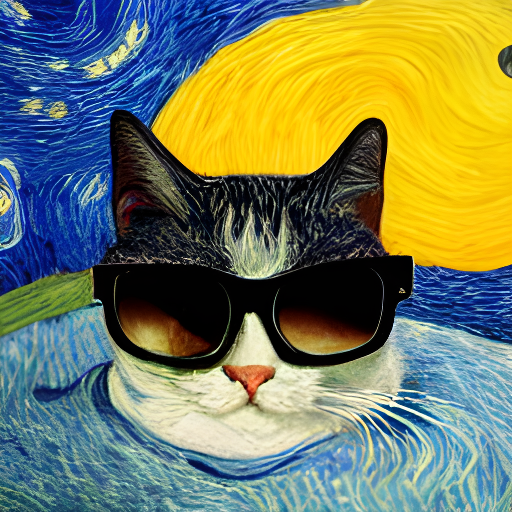
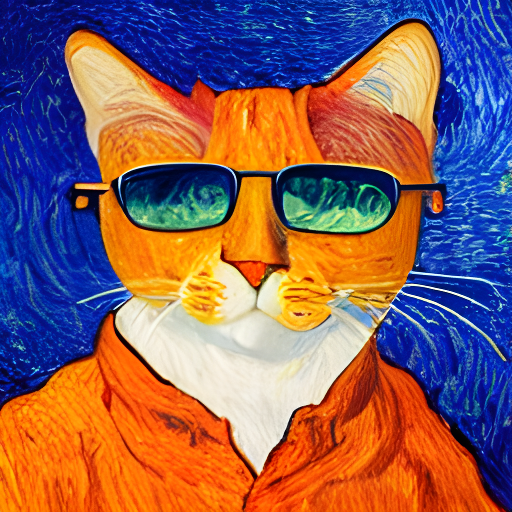
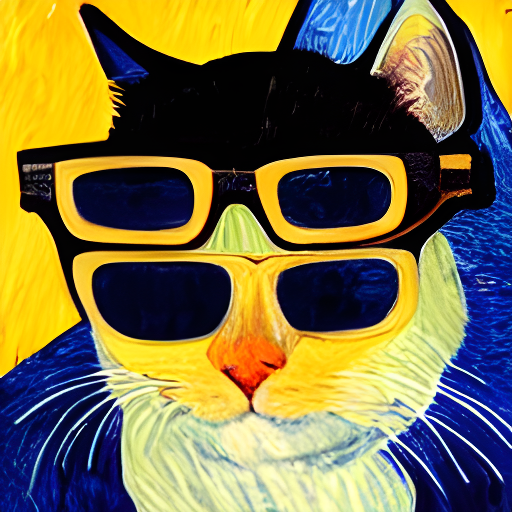
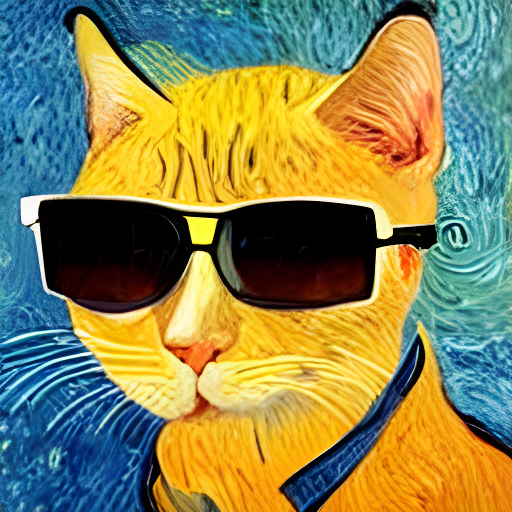
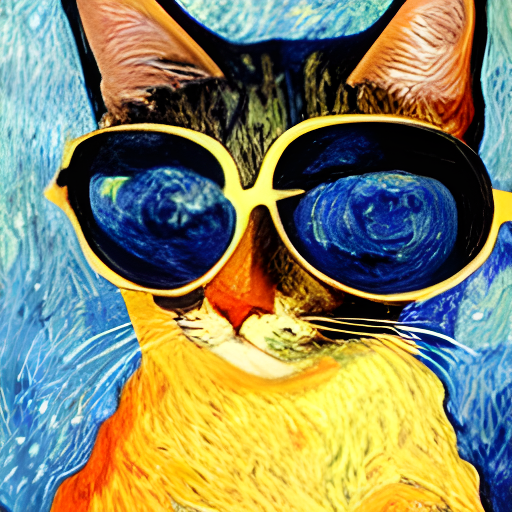
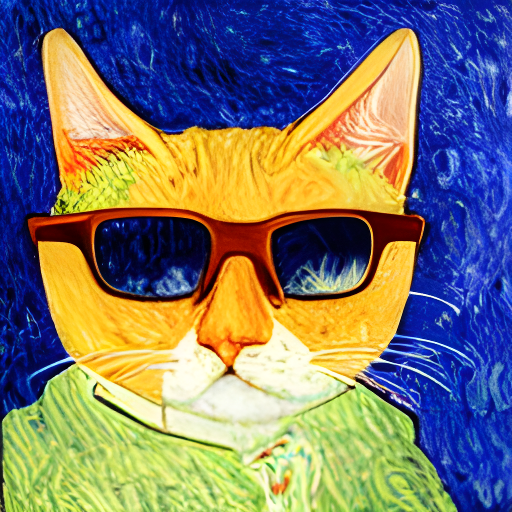
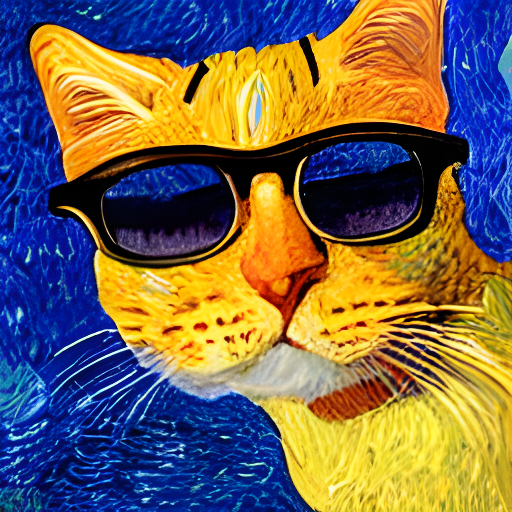
Images below are generated with code from the latent-diffusion repository, weights pre-trained on the LAION-400M dataset
Prompt:
Subject:
Style:
Intro
Text to image models have made significant progress recently, with Google’s Imagen (paper) and Parti (paper), and Open AI’s DALLE-2 (paper) achieving start of the art results. Open AI and startups like Midjourney are creating tiered services for generating images from paying customer prompts. Open source implementations of smaller models with limited compute are available in online web apps, notably DALLE-mini/craiyon. Top performing models contain billions of parameters, trained on hundreds of millions to billions of images. The complexity, compute, and cost associated with these models suggest that they are beyond the reach of the individual. However, publicly available weights make results a step below state of the art possible for free on a personal device. This is my attempt to run and explore text to image models locally, on my personal desktop computer.
How Text to Image Generation Works
Improvements to text to image generation have been driven by the adaptation of a neural network architecture known as transformers to the domain of image processing and synthesis. Originally applied to natural language processing (NLP) tasks, transformers learn complex interrelationships between elements in a sequence such as text. Transformers consist of either an encoder, decoder, or both. The encoder transforms data into a fixed length sequence, which roughly corresponds to the algorithm’s understanding of what it is seeing in a learned feature space. For the example of translation, the encoder takes a segment of text, say in English, and generates a representation of that text that is language agnostic. The second part of a transformer, a decoder, takes a sequence and then learns the mapping of said sequence to an output. In the translation example, it learns how to take the language agnostic representation of a phrase to a different language, such as French. A nice illustrated introduction into transformers can be found here.
Vision Transformer
A key feature of transformers which makes them difficult to use for image data is self-attention. In self-attention, pairwise relationships between elements of a sequence are learned. Or in other words, one element in the sequence attends to another element in same sequence, thus the name self-attention. For images, the number of elements in a sequence describing all pixel values is very large (

In this paper introducing vision transformers (ViT), the authors noted that convolutional neural networks actually outperformed transformers when the size of the training dataset was small, and transformers only gained the advantag after training on very large training datasets. This is due to convolutional nueral networks having a strong inductive bias. What does this mean? Convolutional neural networks convolve small matrices/tensors known as kernels to extract important features from an image. While these kernels are learned over time, using these kernels for convolutions tells the algorithm, from an architectural perspective, that local interactions are most important. Conversely, transformers inherently treat all interactions across the image equally to start, with no preference for local features. Therefore, convolution neural nets get a figurative head start on transformers since local features such as edges are very important. However, the transformer architecture can eventually learn non-local interactions better than convolutional architectures, given enough training data. Which is why the ViT architecture beat then state of the art algorithms based on recurrent convolutional neural networks, given enough training data.
VQGAN
These tradeoffs are described in the introduction of the Taming Transformers for Hig-Resolution Image Synthesis paper
“In contrast to the predominant vision architecture, convolutional neural networks (CNNs), the transformer architecture contains no built-in inductive prior on the locality of interactions and is therefore free to learn complex relationships among its inputs. However, this generality also implies that it has to learn all relationships, whereas CNNs have been designed to exploit prior knowledge about strong local correlations within images.”
Within this paper, they use the best parts of both convoluational and transformer architectures
“We hypothesize that low-level image structure is well described by a local connectivity, i.e. a convolutional architecture, whereas this structural assumption ceases to be effective on higher semantic levels … Our key insight to obtain a … model is that, taken together, convolutional and transformer architectures can model the compositional nature of our visual world”
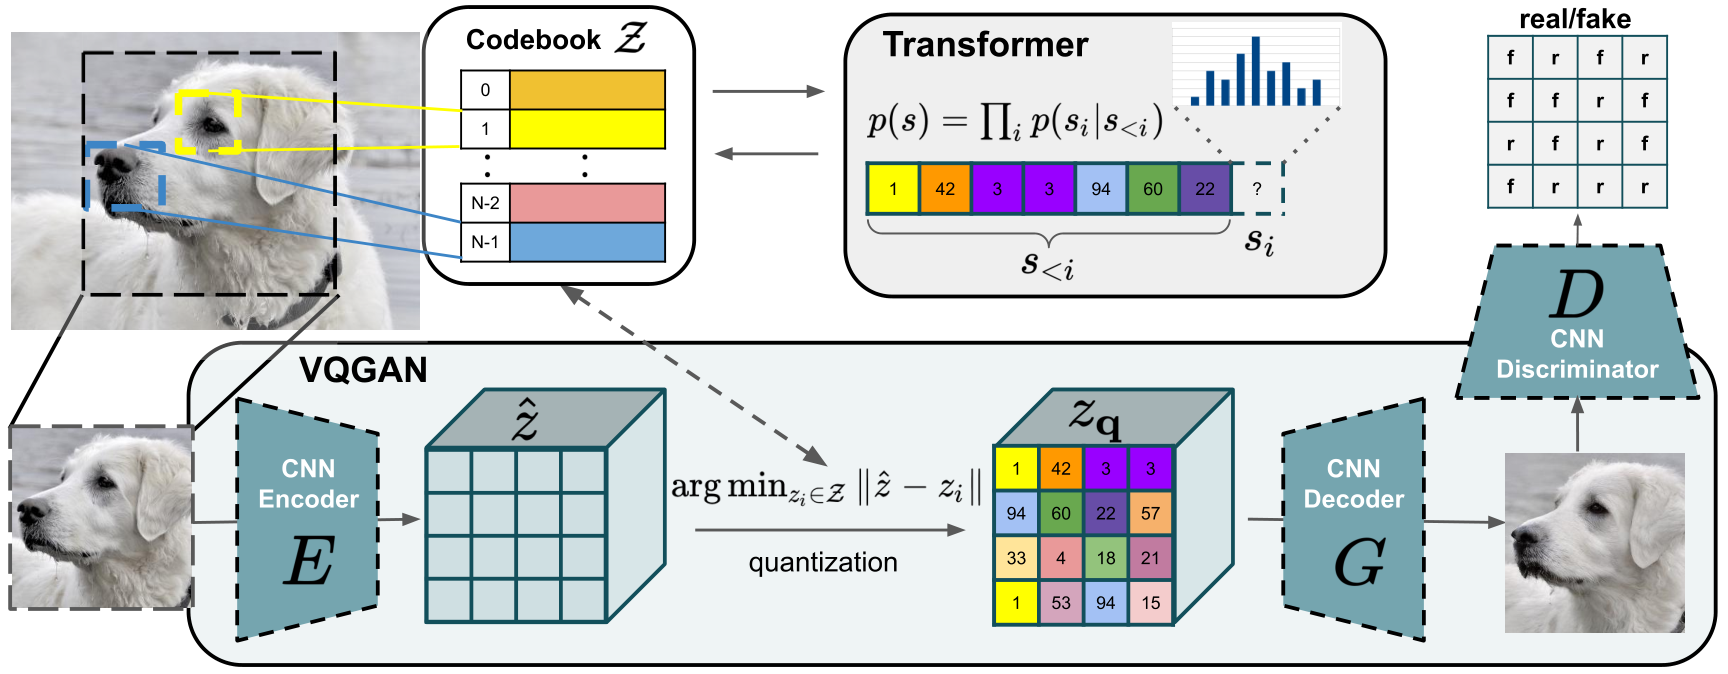
and propose a model architecture called VQGAN, shown below. At a high level, the VQGAN first encodes local features with a CNN into a latent space
Latent Diffusion
An alternative to the autoregressive approach is a process known as diffusion. In diffusion, an image is first turned into random noise and then “denoised” by attempting to reverse the steps. A schematic of this processes is shown below

The same research lab which came up with VQGANs described above, where the transformer is applied to a latent space, applied diffusion to the latent space in the paper High-Resolution Synthesis with Latent Diffusion Models. The benefit of applying diffusion models to the latent (feature) space is that the high level semantic concepts are efficiently compressed, compared to previous diffusion models acting on the pixel space. The model can then learn to create a representation of the image within the latent space from pure noise. Like the VQGAN, the denoising process tries to reproduce a sequence which matches the training data distribution (unconditioned) or matches an expected distribution based on the encoding given to the model (conditioned). Text to image generation is a conditioned version of this process, while the generation of celebrity faces described in the paper is unconditioned.
Fortunately, the latent diffusion model is both computationally light (so I can run it on my personal computer) and has publicly available weights from training on captioned images on the internet. So this is the model I used to create the images at the top of the page. However, latent-diffusion models are more powerful than just text to image generation. The latent diffusion paper also illustrated impressive results for inpainting, semantic image generation, and super resolution.
Comparing Top Models
The latest text to image generation paper, Google’s Parti, compares respective models and their architectures
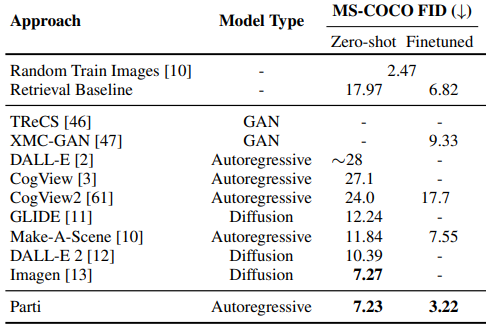
which shows that state of the art performance can be achieved with both autoregressive and diffusion based models. The distinguishing feature between models of the same class is mainly the encoding of images and text. For example, DALLE-2 uses CLIP to encode text and images to respective latent spaces. CLIP then learns how to go from a text encoding to an image encoding, which is used in their diffusion model to generate an image. Alternatively, Google’s Imagen uses their pre-trained and frozen (not updated during training) T5-XXL encoder for text embedding. One particularly interesting result is the increase in performance with model size in Google’s Parti, shown below
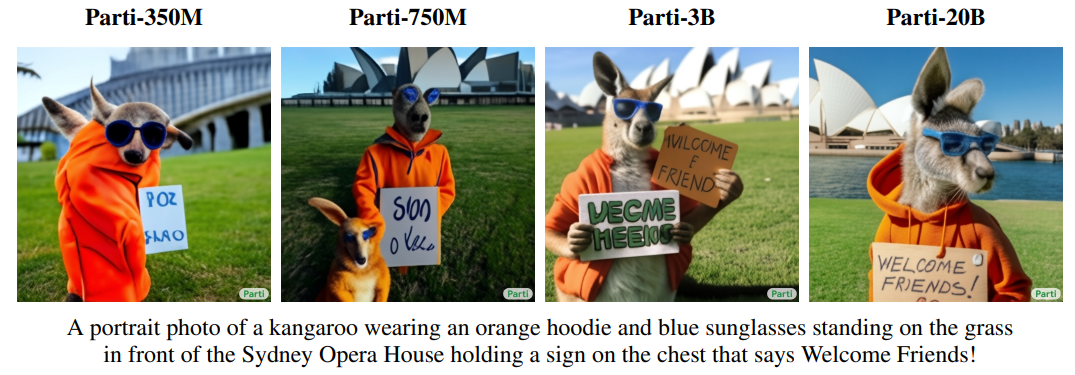
suggesting that better performance can be achieved with increasingly ginormous models. Resistance to overfitting and better performance with model sized has also been seen in the best performing text models, like GPT 3 and BLOOM, each with around 175 billion parameters. The model the latent-diffusion repo provided and the one I used to generate images had 1.45 billion parameters. Which is fortunate for me, since this is near the limit of the model size I can hold in my GPU’s VRAM.
Image Generation Takeaways
1. Supremacy of Top Models
Both Google’s Imagen and Parti provide separate lists of text prompts to be used as a benchmark for future models. In a similar way, I can compare prompts they used to the latent diffusion model I used. When using the prompts “A brain riding a rocketship heading towards the moon” (Imagen) and “An astronaut riding a horse in a photorealistic style” (DALLE-2), it is obvious that their models are superior. This likely due to a combination of a better training set, better model architecture (specifically encoding and decoding of text and images), and more parameters in their models.

2. Trial and Error
In text to image generation, you’ll often have an scene in mind and properly generating that scene with text is challenging. This challenge has lead to the niche study of “prompt engineering”, which studies what words or phrases elicit desired images from the model. For the latent diffusion model I used, more complex subjects (like the brain riding the rocketship shown above) did not produce great results. However, describing a subject in the style of X did yield good results, which is why I formatted the images at the top of the page as a selection of a subject then a style. When exploring what prompts to use, I found this DALLE-2 prompt book had a variety of nice examples.
Another feature of text to image generation is that the models sample the latent space of the text prompt, generating many unique images for the same prompt. This naturally leads to a distribution in the quality of images generated from a prompt. The most impressive images are those shown in press releases, papers, and company websites. These individually selected images have been deemed cherry-picked by the DALLE-2 user community. The images shown at the top of the page are not cherry picked, though I have selected prompts I thought produced decent images.
3. Model See Model Do
A drawback to the publicly available LAION dataset is the presence of stock photos and cropped images, which can be seen in watermarks and white bars appearing in generated images. In the images generated by state of the art models, at least their published results, don’t have these deleterious features. It is unclear whether this comes from superior discrimination in their model or a cleaner training dataset. However, the distribution of watermarks is not equal across prompts. For example, I found watermarks were more likely on prompts describing pencil drawings than those in the style of Van Gogh.

Running Locally
Here are the steps I used to create the images at the top of the page.
With conda installed
1. Clone the latent-diffusion repo
git clone https://github.com/CompVis/latent-diffusion.git
2. Create the conda virtual environment
cd latent-diffusion
conda env create -f environment.yaml
conda activate ldm
Note: Need to install the appropriate version of pytorch. If you have an Nvidia GPU, the CUDA version. Otherwise, the CPU version is needed. If using the CPU version, then the txt2img.py script will need to be adjusted since it contains code specifically for CUDA. I was lucky to have an Nvidia GPU, so the code worked out of the box. Info for downloading a specific configuration of Pytorch can be found here.
3. Download the pretrained weights
mkdir -p models/ldm/text2img-large/
wget -O models/ldm/text2img-large/model.ckpt https://ommer-lab.com/files/latent-diffusion/nitro/txt2img-f8-large/model.ckpt
4. Run the script!
python scripts/txt2img.py --prompt "Your prompt here!"
The image outputs will be default 256x256 and appear in the outputs folder local to the repo. Look into the txt2img.py script to see the adjustable parameters. For the above images, I set the diffusion dimensions to 250, which was the level of diminishing returns mentioned on the latent-diffusion README. I also used the --scale set to 7.5. The scale is related to “Classifier-free guidance”, which is a relative weighting to conditioned image generation (conditioned in this case is the text prompt) and unconditioned image generation in the sampling process.
5. (Optional) Upsample the image using ERSGAN
Since I was limited by VRAM, I upscaled the images from 256x256 to 512x512 using ERSGAN.
git clone https://github.com/xinntao/Real-ESRGAN.git
cd Real-ESRGAN
wget https://github.com/xinntao/Real-ESRGAN/releases/download/v0.1.0/RealESRGAN_x4plus.pth -P experiments/pretrained_models
python inference_realesrgan.py -n RealESRGAN_x4plus -i inputs --face_enhance